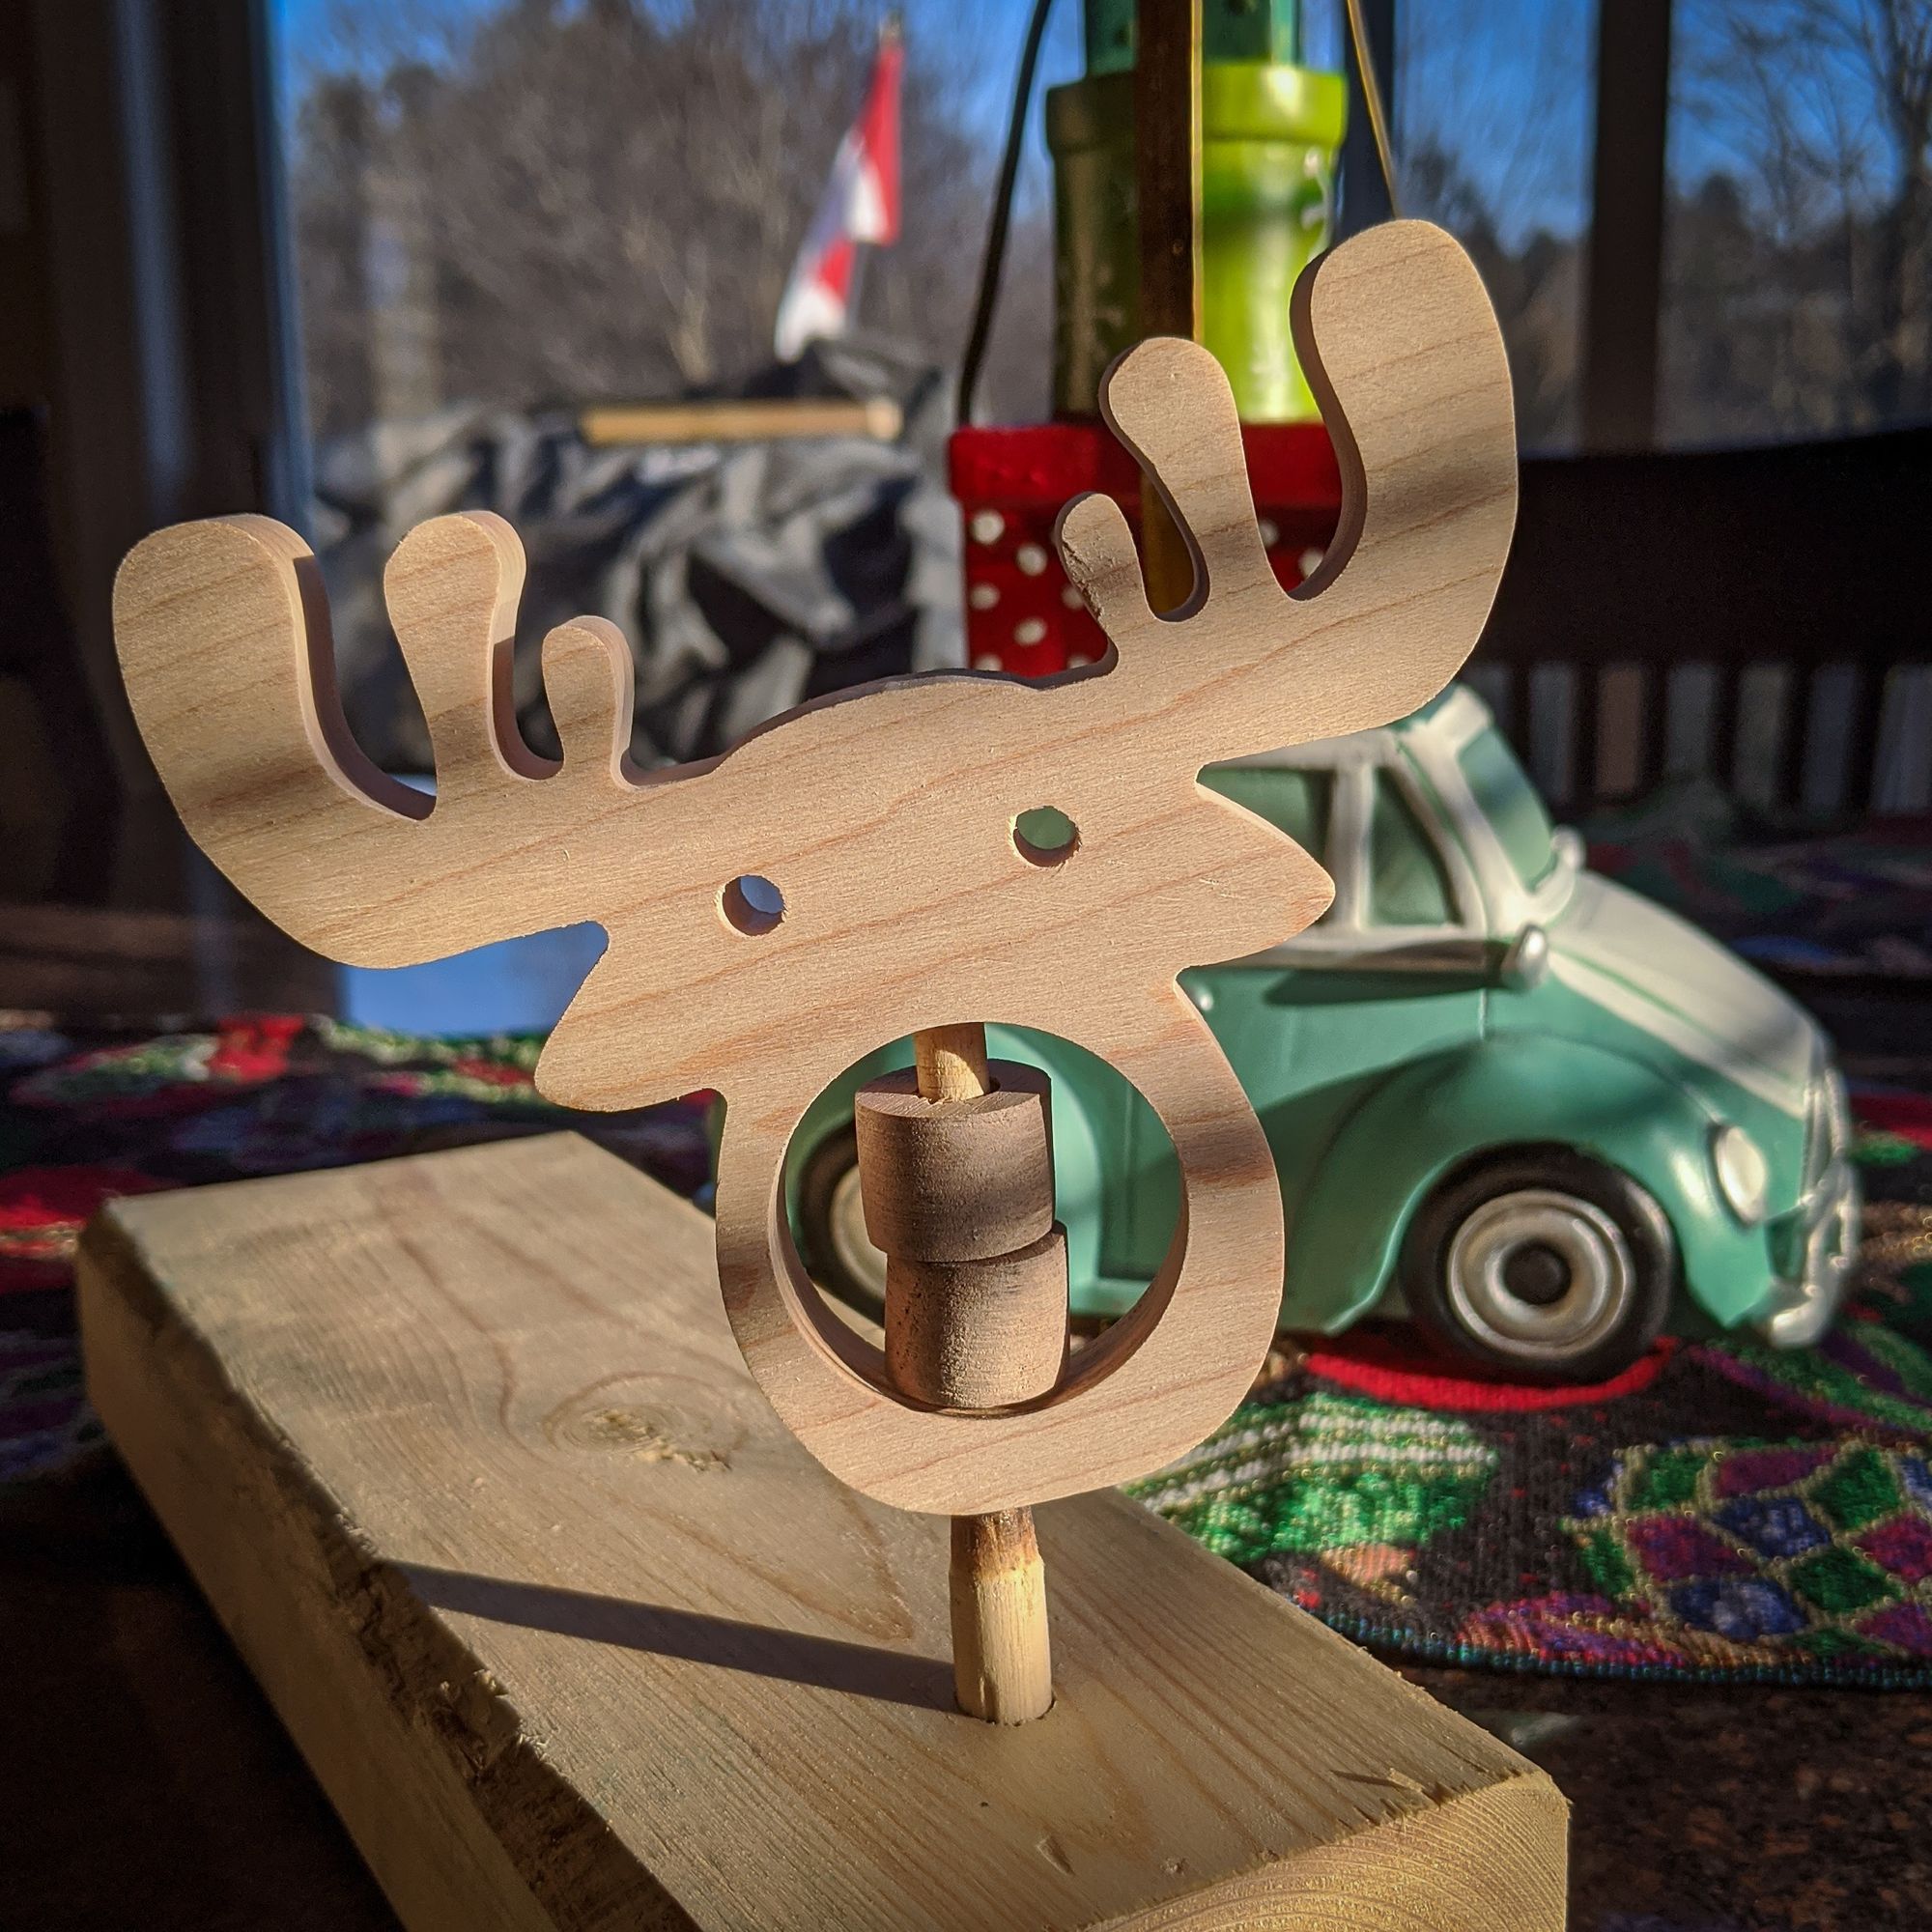
Recently a new baby has arrived in the family. As a small gift and too practice some sanding and a new finishing technique I wanted to make a toy rattle. All of the work was done with a drill, jigsaw, Miter saw, belt sander and a few hole saw bits. I created the shape for the outline using a few different sized hole saw bits. The rattle is made out of three main pieces the body is made out of hard maple, The dowel is just a simple poplar dowel. and the small pieces are made from walnut.
Once the long process of getting the body shaped with the jigsaw and belt sander is done simply drill your hole for the internal components. Once the large hole is made you can drill the hole through the side of the rattle to accept the dowel. While doing this it is important to make sure you are parallel with the face of the body to ensure you don't drill to high or low on the opposite side of the hole. Size the hole correctly for your dowel, ensure it is very snug you don't want this to ever come out once glued.
After you have gotten your dowel seating correctly next you can make the small rattle pieces. I did this by cutting some thin sections of walnut and drilling a hole a bit bigger than the dowel in them. The hole can then be used to put a bolt through and chucked up in your drill. All that needs to be done in order to get the square pieces into a roundish shape is run your drill with the pieces over top of your belt sander the the corners will slowly round over nicely.
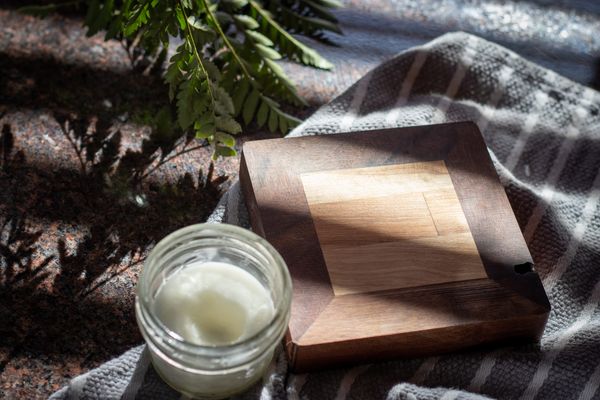
Now that all of the parts have been shaped just glue the dowel in place with the rattle bits on the inside of the large hole. be careful not to get glue on the rattle bits you do not want them to get glued in place. Cleaning up glue off them would be a pain. As for a finish on this I found a lot of good information about using bees wax and coconut oil. All you need to do is melt the oil and wax in a double boiler and then let it cool down a harden up. Once the mixture is hard you can just wipe it onto the toy and just remove any excess as you go.


