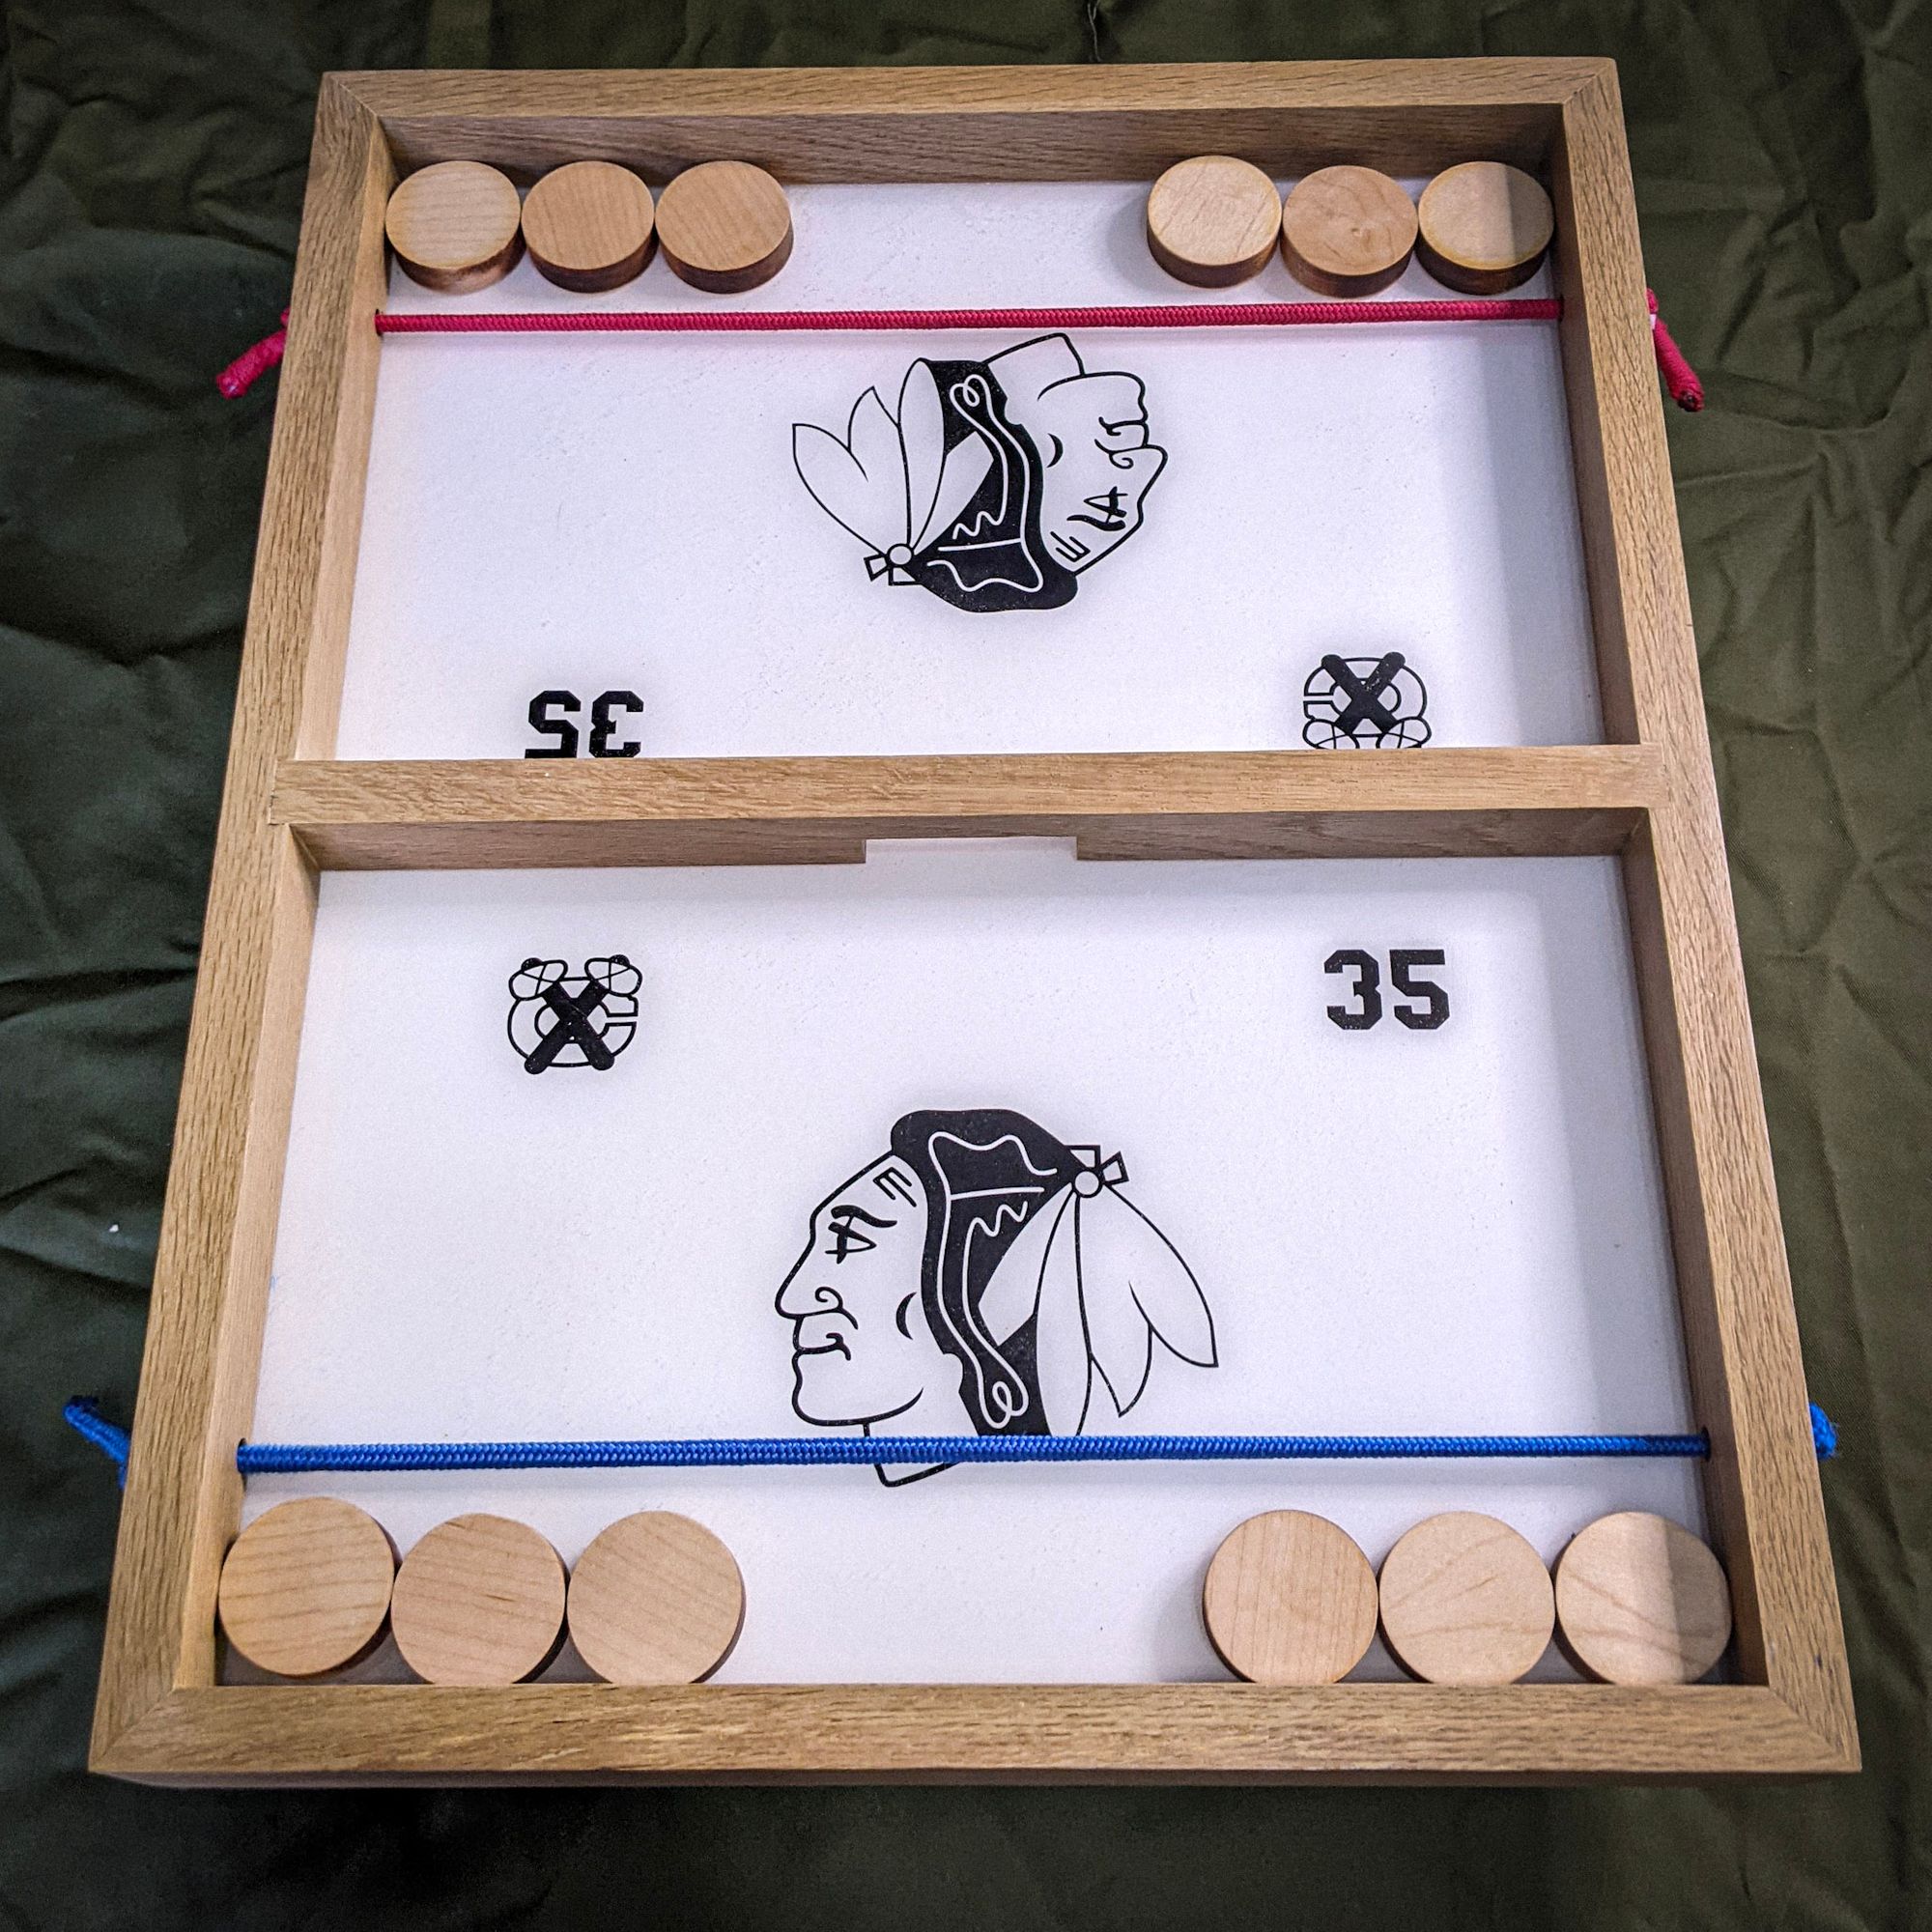
This was a fun project it allowed me to practice some new techniques and joinery methods. The centre goal was attached with a dado into the side pieces. I created the dado using my sliding mitre saw and then cleaned up the bottom of the cut with a chisel. All four mitres were strengthened with dowels and then filled with a plug to match the white oak.
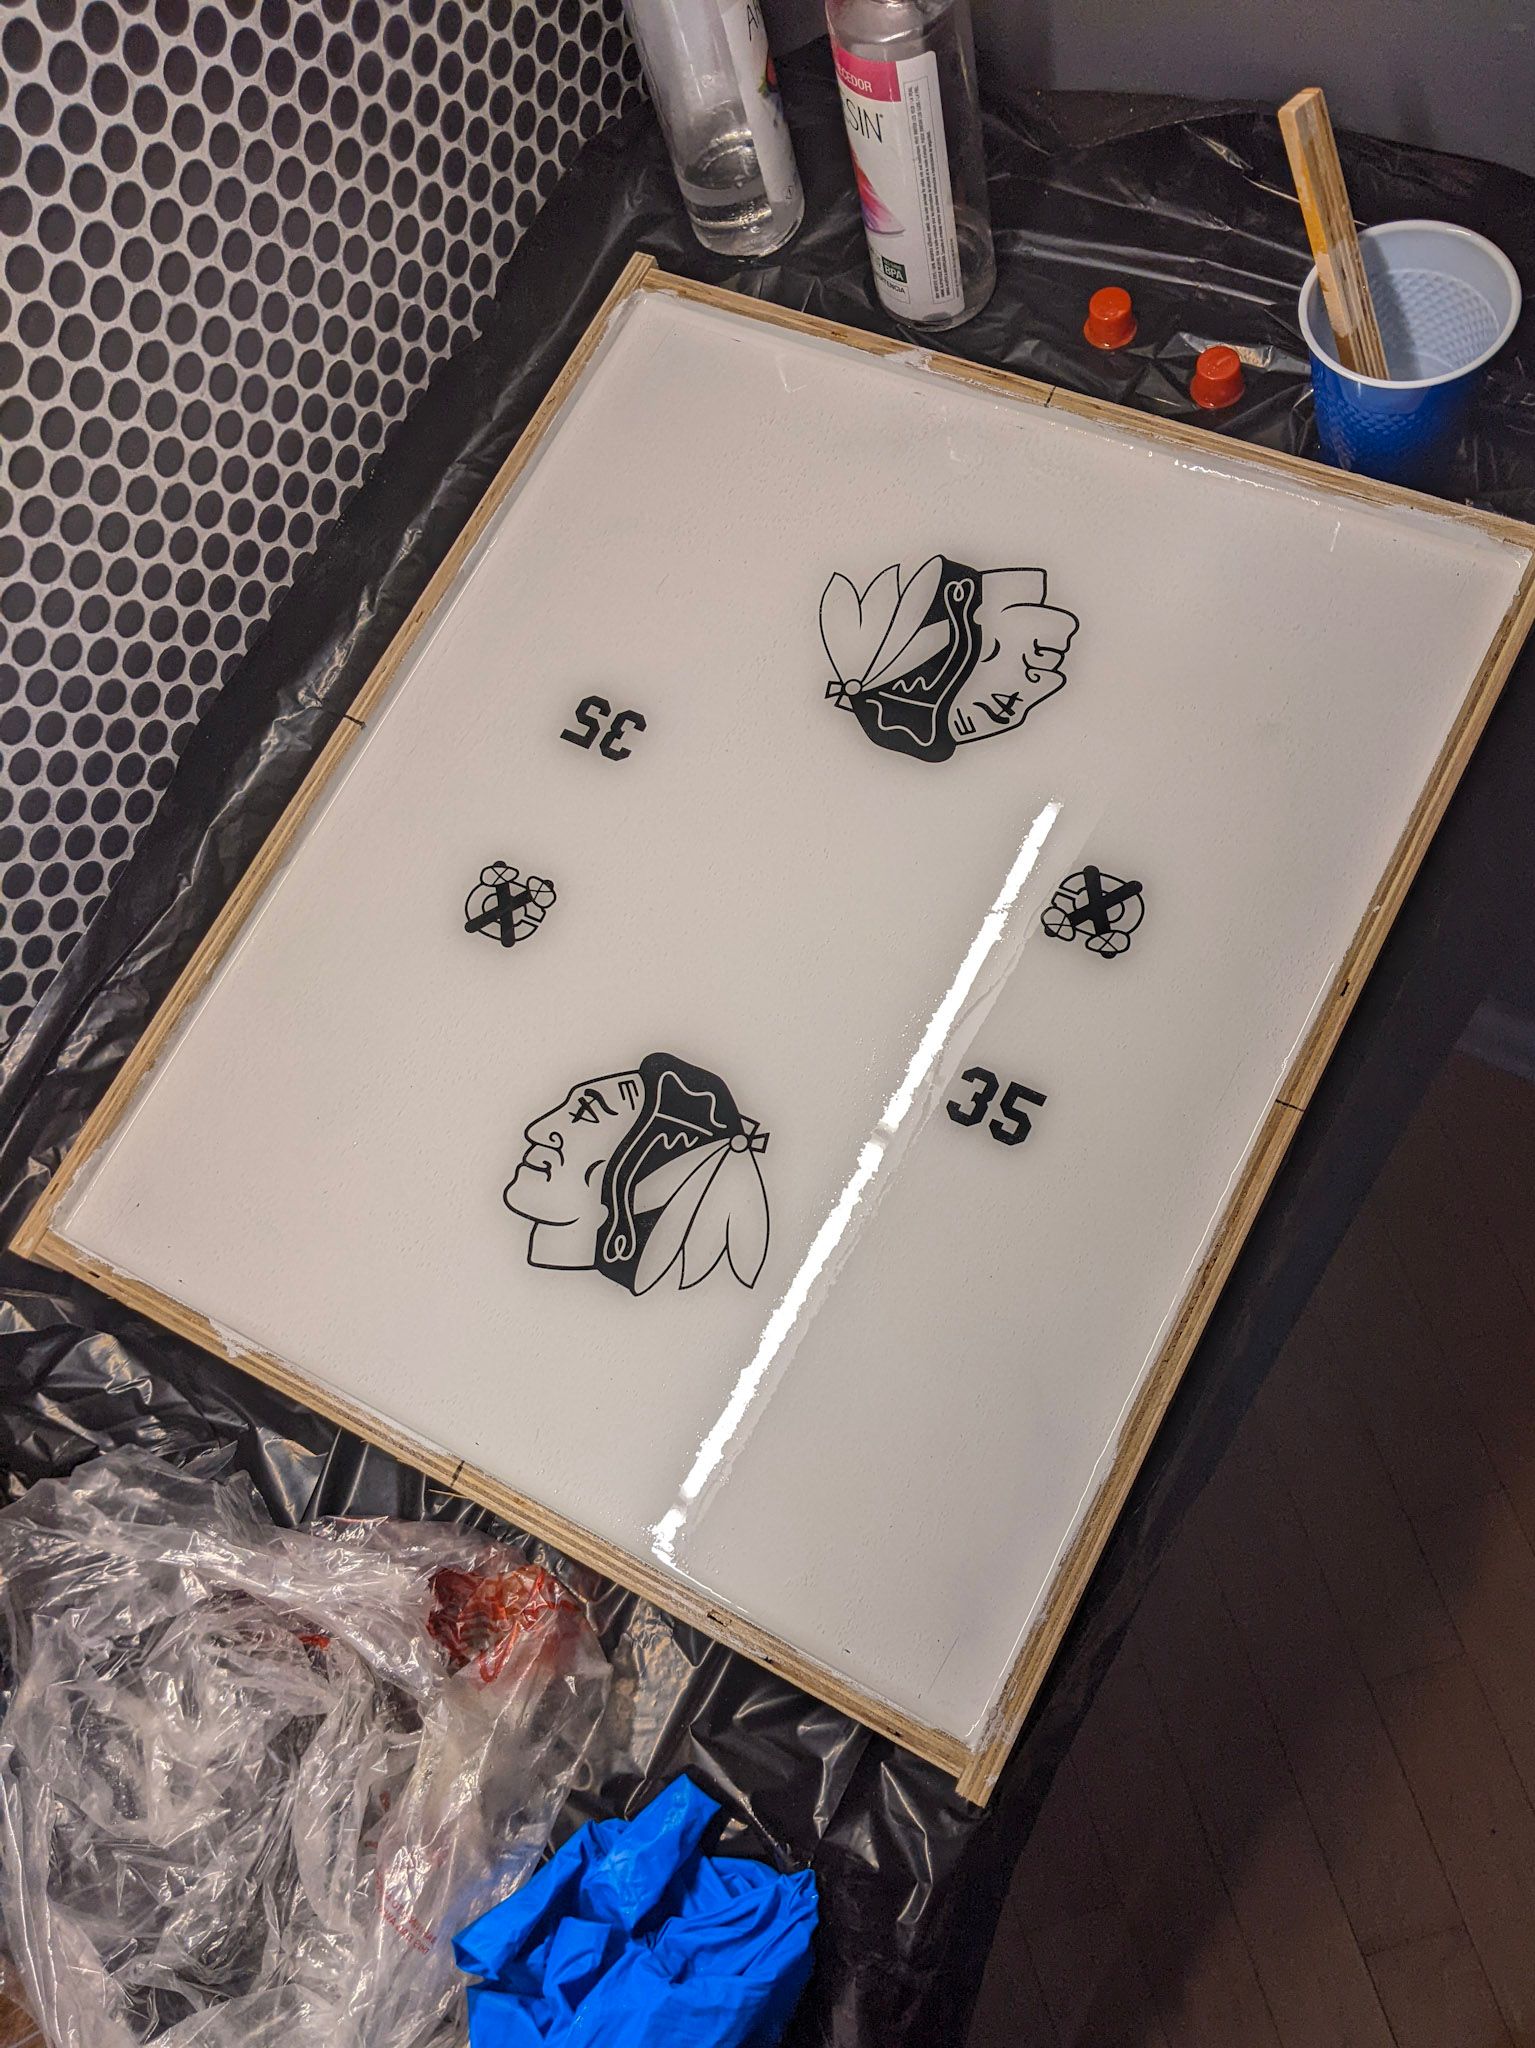
The base of the game was completely new territory for me. First the base was painted white with latex paint. Then four walls were added and the corners and seams were sealed with caulk. My wife made me some vinyl stickers and they were placed directly on the board.
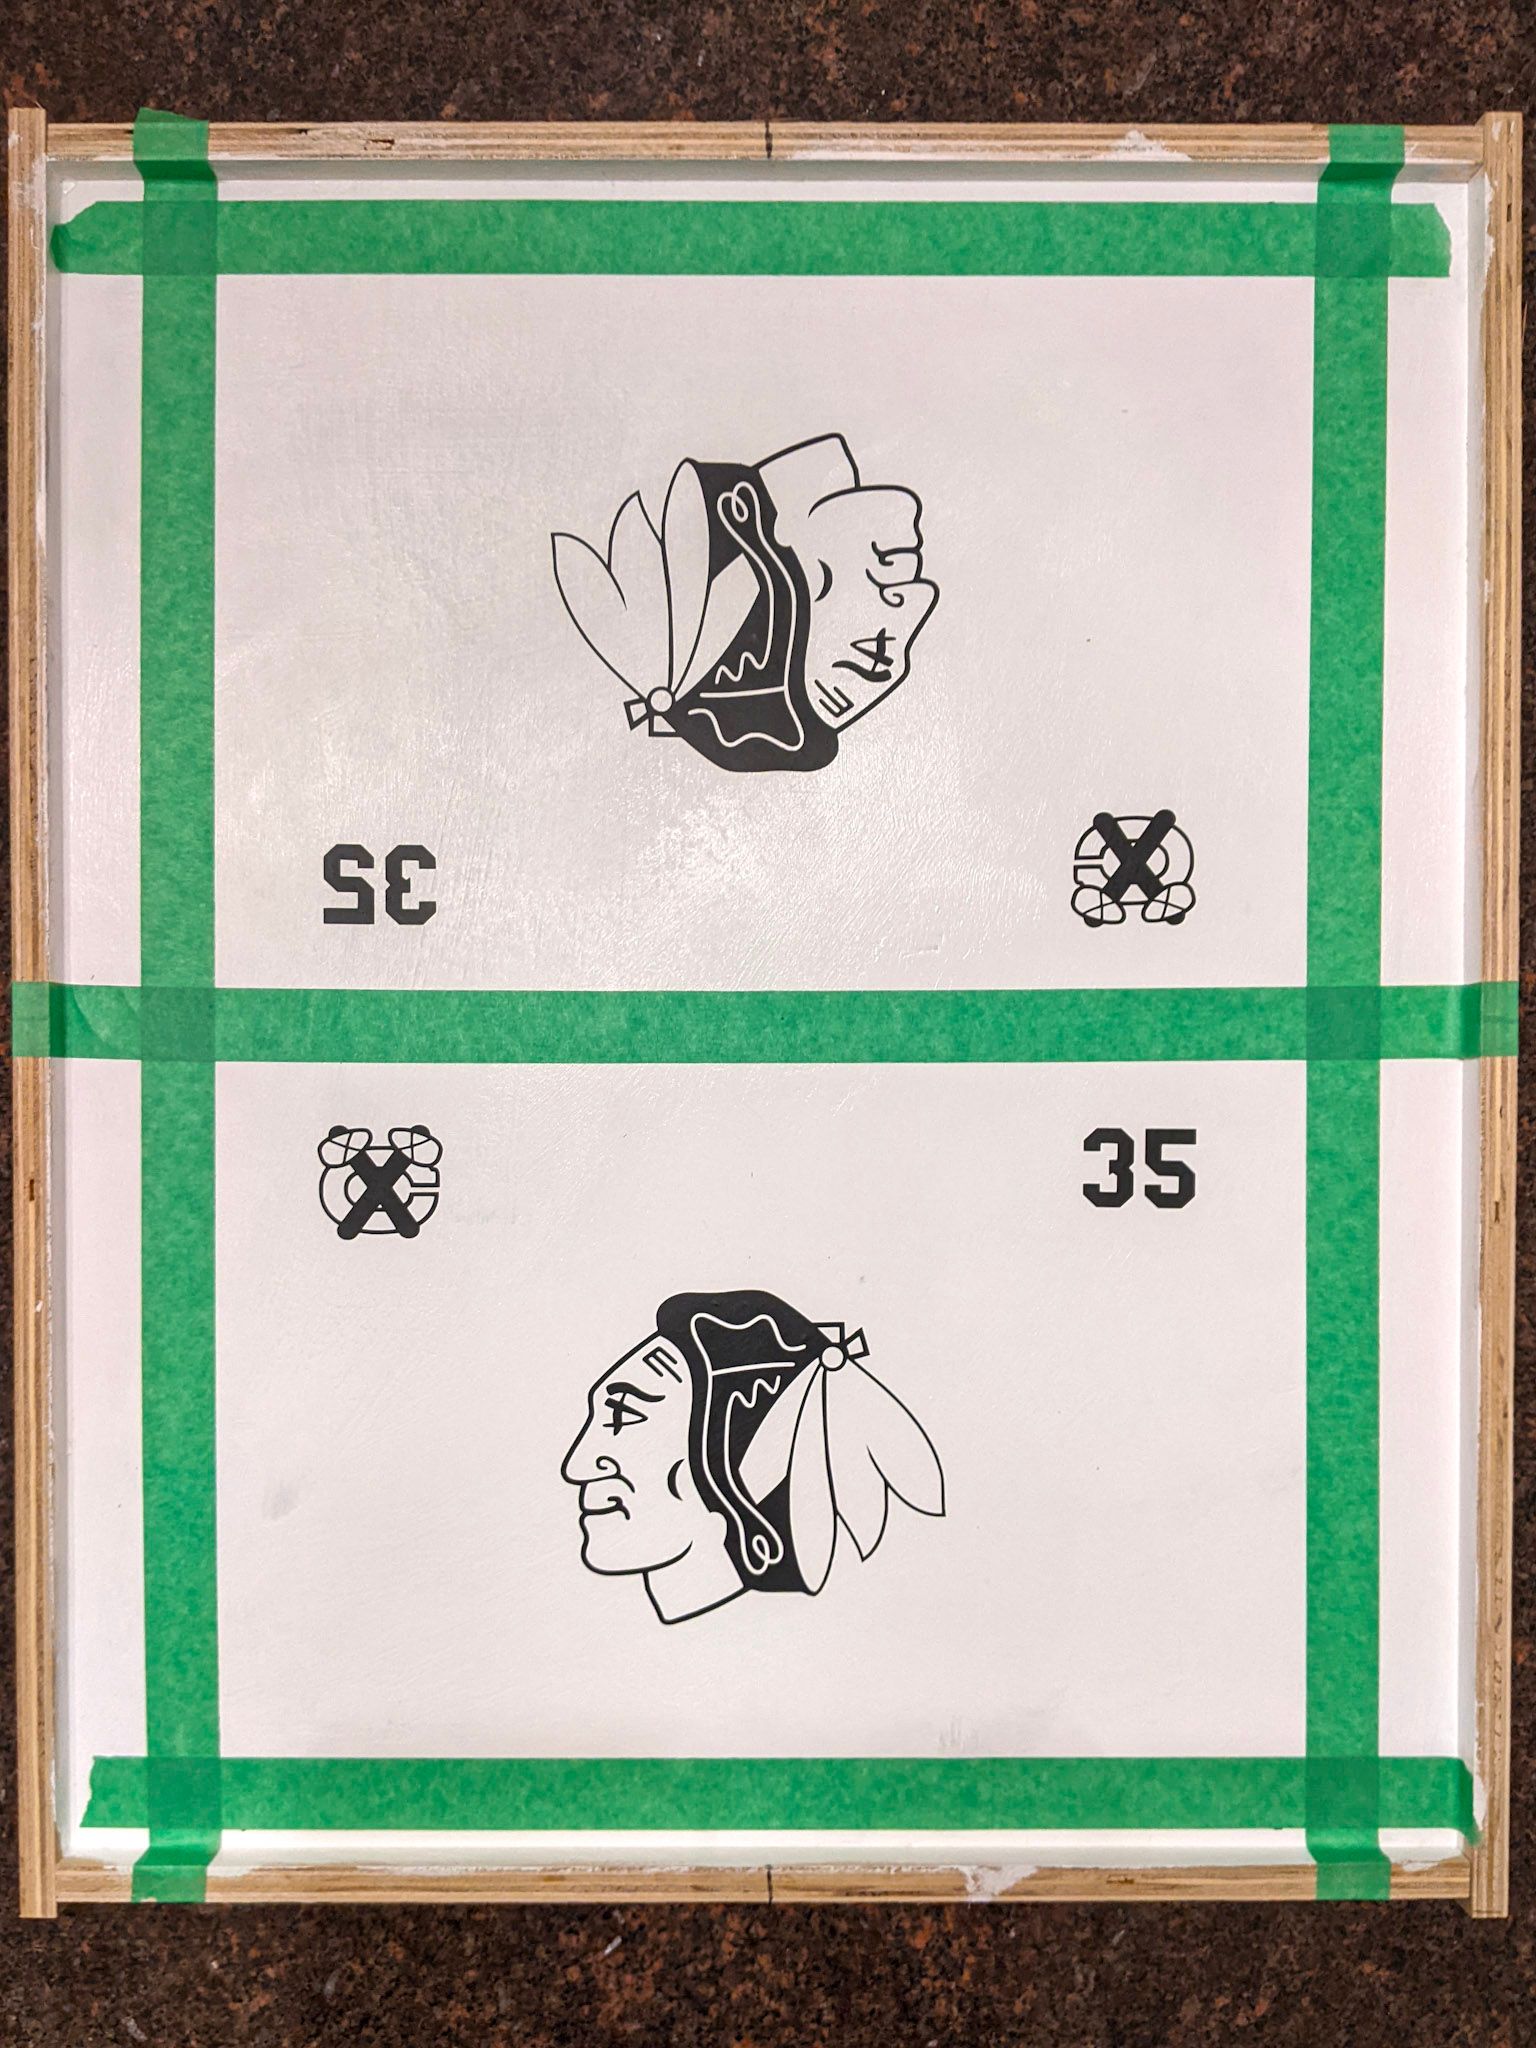
After the tape is removed I could begin covering everything in epoxy. I did my best to level out the board and went for it. Only had two kinda of minor issues happen. The first was that the base was not actually level so the epoxy was about 1/16 thinner in the bottom right corner. Not that big of a deal as long as everything got covered it was alright. The other thing was that bubbles formed on the service, despite me going around and trying to pop as much as I could with a heat gun. This didn't make a big deal in the functionally of the game but would have been frustrating in a different project.
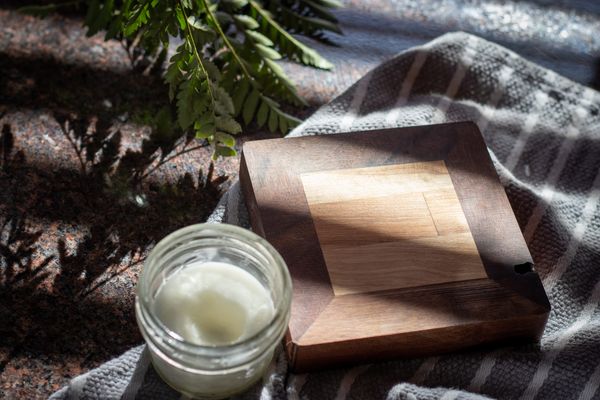
Once the epoxy cured I could begin assembling the game. All of the white oak on the project was finished with some of general finishes high performance top coat in satin. The maple pucks were finished in a mixture of bees wax and coconut oil, and voila the project was complete


